Ximera integrates with LunaProxy
Ximera integrates with LunaProxy static ISP proxy
Get LunaProxy proxy information
Before starting the integration, we need to select a plan and prepare a proxy in LunaProxy.com
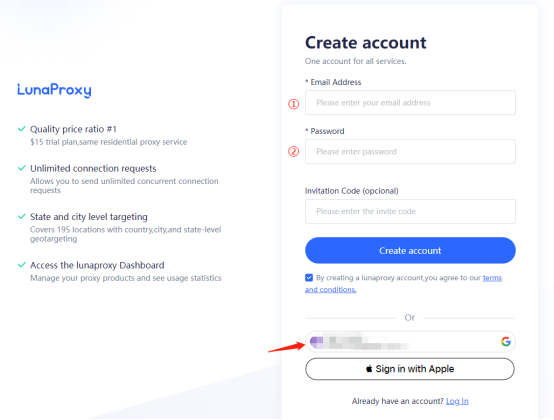
- Register an account (if you don’t have one yet) / ①. Enter your email address ②. Enter your password (you can also choose Google)
- Go to the Dashboard.
- If this is your first time accessing the dashboard, you will be prompted to select a plan if required.
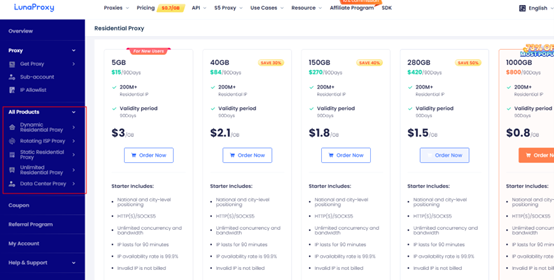
- After selecting the plan, enter the Get Proxy menu → User and Pass Auth and select the required proxy.
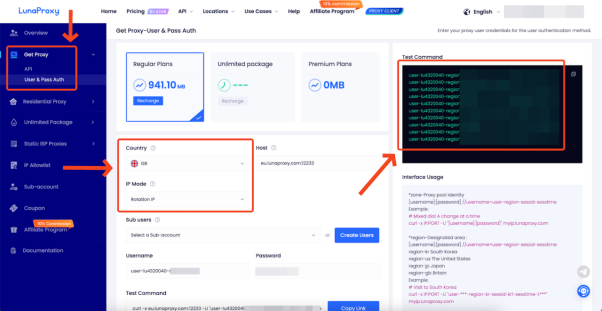
- Select the country and proxy type you want. Here I choose the UK and rotating IP.
- Copy the generated proxy host, port, login name, and password.
- To obtain the proxy management URL link, go to the API tab.
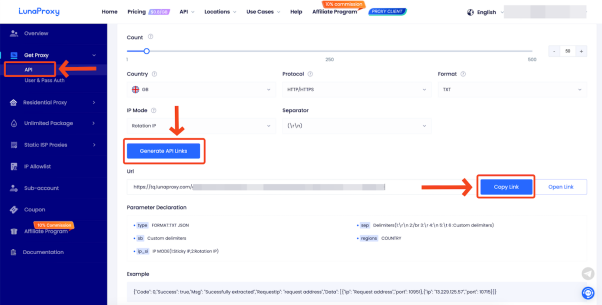
- The proxy is ready to be configured
Configure proxy
- Open ximera, click "+", select browser configuration, and click OK
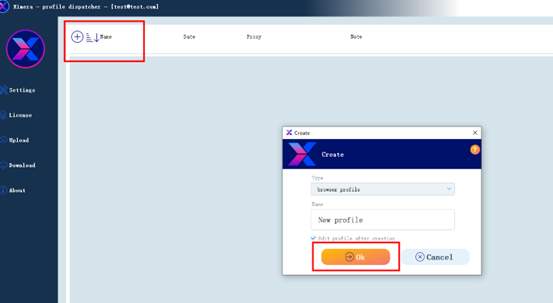
- Click the pen icon on the right side of the proxy server
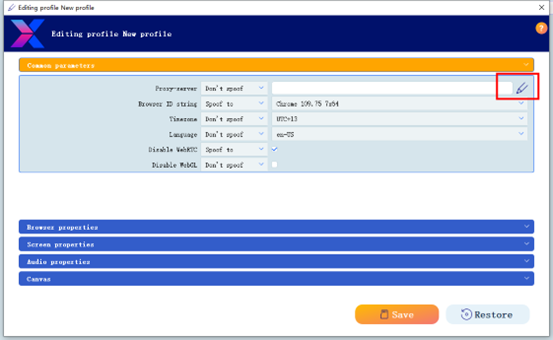
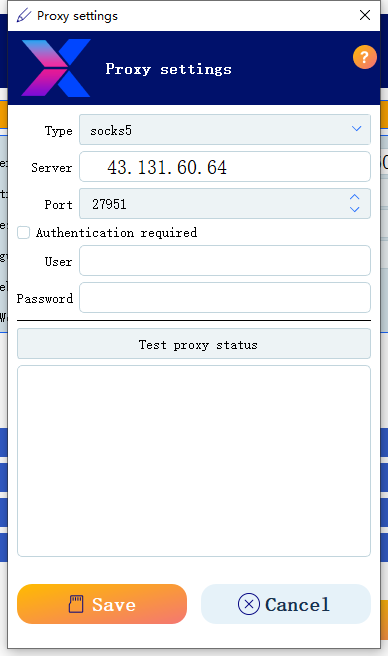
- Select the proxy type and fill in the IP and port. If it is a static IP, fill in the account number and password.
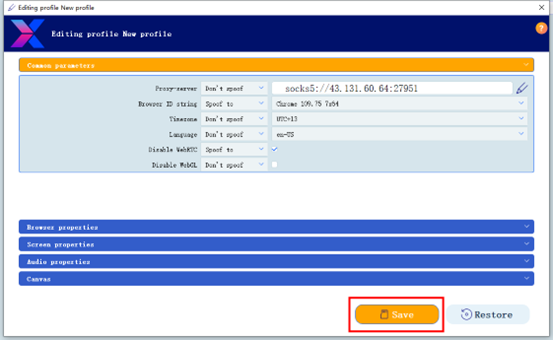
- Click Save
- Click the browser icon to access the newly created browser profile and enjoy safe browsing.
